Since I've last updated I've added the back, batting, and binding.
[previous posts:
http://gillespietreehouse.blogspot.com/2014/09/chevron-quilt-front.html?m=0
http://gillespietreehouse.blogspot.com/2014/09/quilt-progress.html?m=0
http://gillespietreehouse.blogspot.com/2014/09/chevron-quilt-begun.html?m=0]
BACK:
I decided to go with a flannel, and found a perfect match to my coral. Flannel does shrink so pre-washing is a must. Because I seem to insist on always straying from a pattern, my quilts unconventional size (48x52) required a pieced together back.
I chose to sew it into 4 equal vertical stripes, leaving me with 3 seams.
BATTING:
I decided to do two layers of batting to get a thicker warmer blanket. I used two packages of Warm & Natural.

On my previous quilt for Ella I felt like the batting wasn't secured very well, so I decided to sew the back to the batting before combining the entire quilt.
I sewed in the "gutter" of the 3 vertical seams in the back flannel. This way there were no extra seams/lines.
Once these pieces were sewn together, I found it much easier to combine the whole quilt because I really had 2 pieces rather than 4; much less to worry about.
I attached the front of the quilt with coral thread, so I sewed over my coral fabrics so it wasn't as noticeable.


I started in the center of the quilt (middle row and middle of that row) and worked my way out. So for the middle of the quilt that meant I started in the middle and went to the left and then went back to the middle and went right. After that row was complete, I sewed a row 11 inches above the middle and then 11 inches below.
When I was done the front was attached in 3 lines and the batting in 6 (3 to the entire quilt and 3 just to the back).
EDGES:
Now that everything was sewn together, I needed to work on the edge. Below is a picture before I did anything:
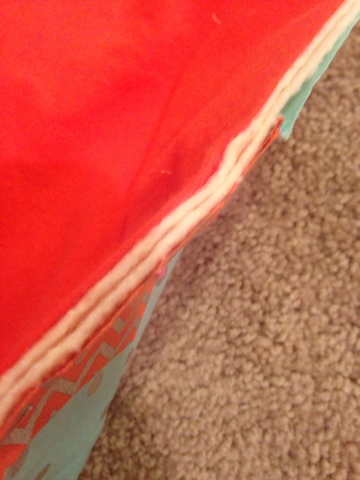
I used my quilting foot and did a zig zag stitch over the edge.


This step technically isn't necessary, but it makes the quilt stronger andi think it made adding the satin binding much easier!
I used this tutorial for my binding, I recommend reading: http://m.instructables.com/id/Flannel-baby-blanket-with-satin-binding/step8/Attach-the-binding-mitered-corner/
I used satin binding for the first time, I'm pleased with how it worked out, and think Evie will like the satin and flannel.
Pinning down and sewing the binding was the hardest part due to the meticulousness necessary.


The corners were the most challenging, but the tutorial addresses that.
Finished edge:

Completed:


WOW!!! I am amazed!!! It is so beautiful! You did a great job. I can't wait to see it in person!
ReplyDelete